Linux Cluster Node Configuration
Linux Node1
- In VirtualBox, Node1 > Settings > Network. Adapters 1, 2 & 3 should be enabled and set to “Bridged Adapter”.
- Start the Linux VM to boot CentOS.
- Login as root. Execute the below command…
ifconfig -a | grep eth[0-9]
- You should see interfaces eth0, eth1 & eth2.
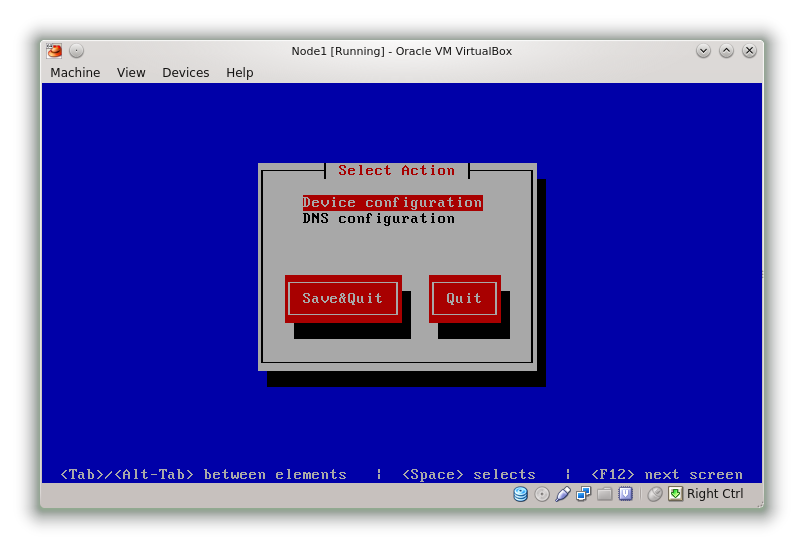
- Run the command system-config-network-tui to configure the network interfaces.
- Select “Device Configuration”.
- Choose eth0. Configuration details.
Name = eth0
Device = eth0
Use DHCP = Unselected
Static IP = 192.168.1.101
Netmask = 255.255.255.0
Gateway = 192.168.1.254 (or as appropriate)
DNS = 192.168.1.254
- Click OK to save. Apply the following configurations to the remaining interfaces.
eth1
Name = eth1
Device = eth1
Use DHCP = Unselected
Static IP = 192.168.2.1
Netmask = 255.255.255.0
eth2
Name = eth2
Device = eth2
Use DHCP = Unselected
Static IP = 192.168.3.2
Netmask = 255.255.255.0
- Run vi /etc/sysconfig/network. Change hostname to node1.
-
Check the files /etc/sysconfig/network-scripts/ifcfg-eth[0 1 2] that ONBOOT=yes. Change it if not. - Check you can ping google.co.uk.
Reboot Node1 and check the configuration. Next apply the following configuration to Node2 using the same process.
eth0
Name = eth0
Device = eth0
Use DHCP = Unselected
Static IP = 192.168.1.102
Netmask = 255.255.255.0
DNS = TBC
Gateway = 192.168.1.254
eth1
Name = eth1
Device = eth1
Use DHCP = Unselected
Static IP = 192.168.2.2
Netmask = 255.255.255.0
eth2
Name = eth2
Device = eth2
Use DHCP = Unselected
Static IP = 192.168.3.3
Netmask = 255.255.255.0
- Run vi /etc/sysconfig/network. Change hostname to node2.
-
Check the files /etc/sysconfig/network-scripts/ifcfg-eth[0 1 2] that ONBOOT=yes. Change it if not. - Check you can ping google.co.uk
Reboot when done and check configuration.
